Seven easy steps to bring personality into a room


Curate your collection.
1. Think about what will make your wall interesting, as well as what reflects your personal style—and what makes you happy. Do you want a mix of personal photos and artwork? What about including your kids’ drawings and vacation mementos?
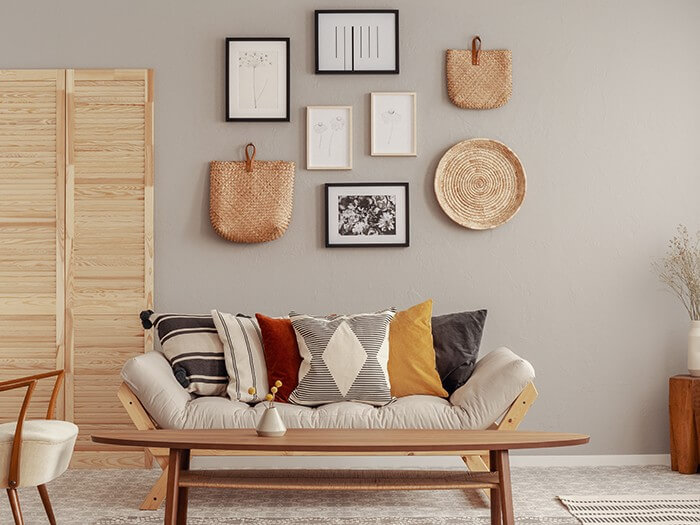
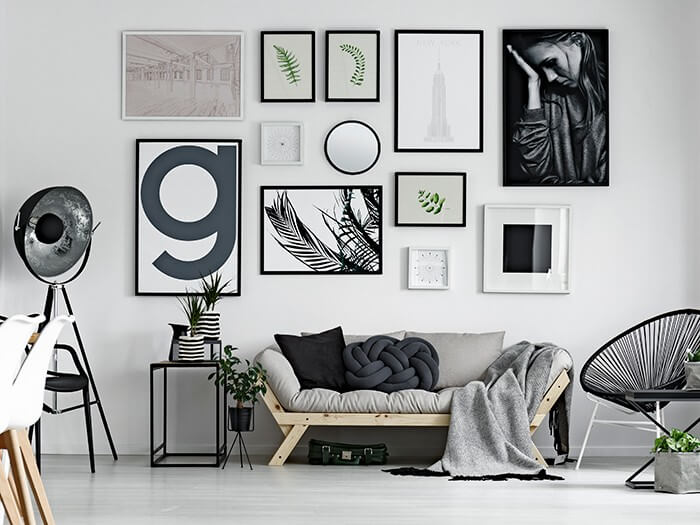
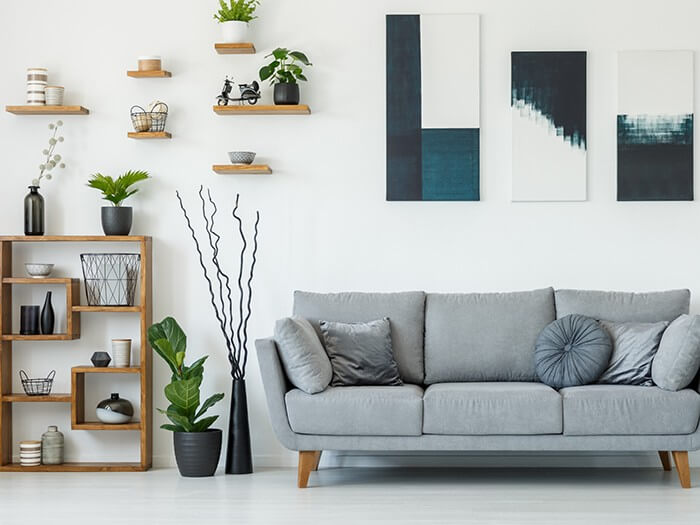
2. Add depth. You don’t need to limit your wall to two-dimensional, framed photos or artwork. Objects like ceramic plates, mirrors, tapestries and the like add depth and texture. Floating shelves add depth, too (and are great for layering lots of frames).
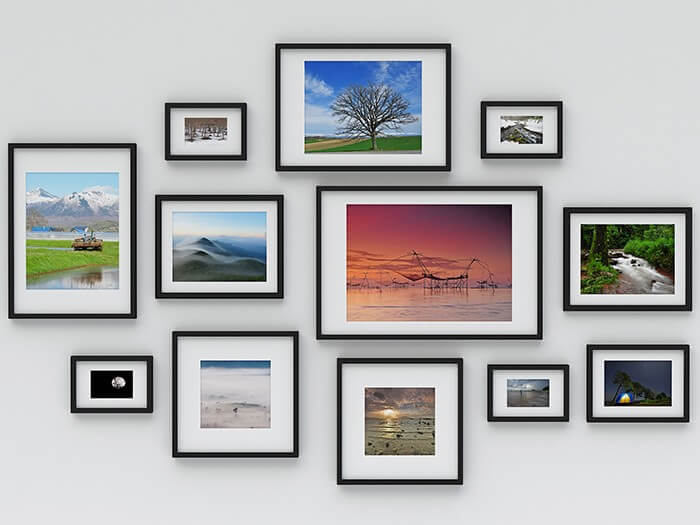
3. Mix it up. Frames in different sizes, shapes and materials add the most interest. Tie it all together by sticking to a color palette.
Do a dry run.
4. Once you’ve gathered the art and objects you want to use, you’re ready to create a preview of your wall. A preview allows you to find the composition you like best, without ending up with a wall full of unnecessary nail holes.
Outline the dimensions of the wall on a floor using painter’s tape, then arrange your art within the tape. When you’re satisfied with your arrangement, snap a photo of it.
5. Next, outline your art on kraft paper, one piece at a time. Cut the outlines out and hang them on the wall with painter’s tape, referencing the photo you took earlier. Try to keep the outlines equidistant from one another (3 to 6 inches apart is a good rule of thumb).


Hang it up!
6. What you use to hang your art depends on its weight and the type of wall you have (drywall, plaster or brick). Options for hanging hardware include d-rings, wire and sawtooth hangers. If you’re nailing into drywall or plaster, try to find a wall stud. If you can’t find a stud, make sure to use anchors.
7. Use a pencil to mark the hanging height. Start with the largest piece in your collection and go from there, and use a level to make sure everything is straight. Then stand back, and enjoy!


